|
Preparation
Getting closer to having the tank ready to go, it was time to start prepping. This included moving the old tank out of the way, moving the new tank to it's permanent home, washing the sand, and setting up the tank.
The Great Swap
What I originally thought was going to be the hardest part of the project turned out to be fairly easy -- moving the tanks around. The trick was in those plastic movers things called "Magic Movers" that you put under heavy furniture to slide it around easily. I was able to move my old tank easily while it was still half full by sliding these under each corner and simply pushing the stand!
| 54 |
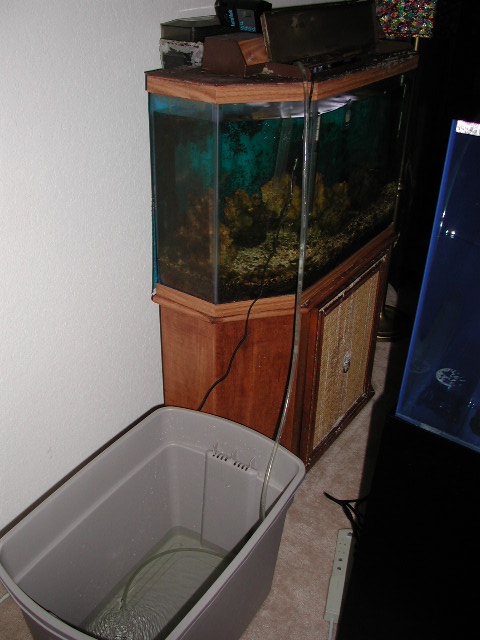
Once the test was complete, it was time to start moving the old and new tanks to their new homes. The new one was to sit in the same place as the old one, so I began by draining the old tank, storing the water in large, 20gallon plastic bins until it was moved into place. |
| 55 |
With the tank half-empty, I used magic sliders (you can see them under the corners of the wooden stand - the round plastic things) under the stand to easily push it out from behind the new tank and slide it into position! |
|
|
| 56 |
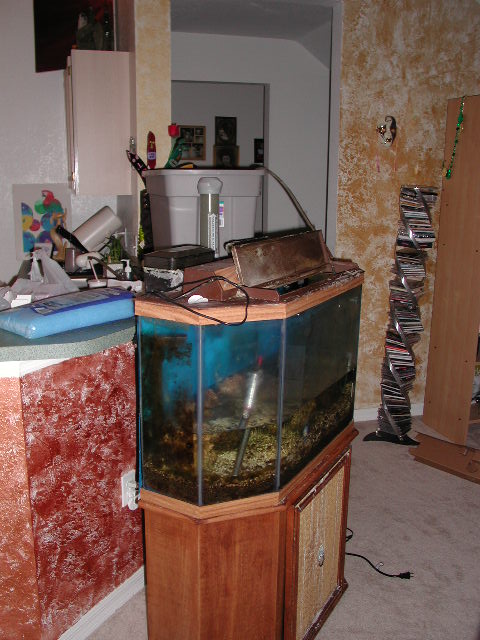
Finally, the old tank was in its new, temporary position and I started filling it back up with it's original water. Once it was full, I started up the system again. |
| 57 |
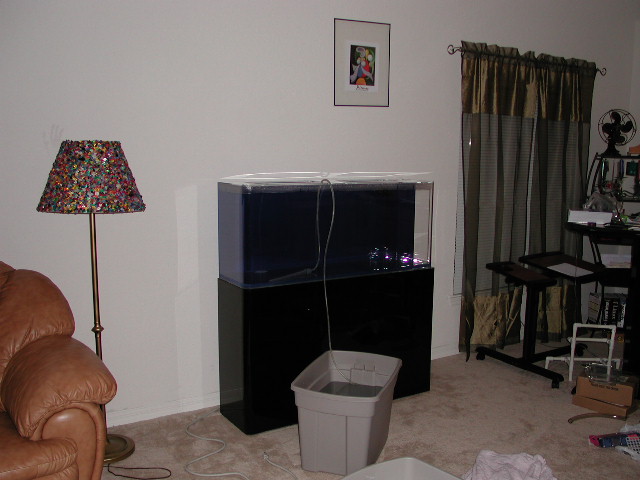
With the old tank out of the way, it was a simple exercise to drain the new tank and slide it back to the wall. The acrylic stand made it REALLY easy to slide this tank even when it still had some water in it. |
|
Sand Bath
My least favorite part of the project, but a necessary one -- washing the substrate that will eventually sit on the bottom of the tank. To avoid waste, I used the water I saved from the new tank's test to wash all 60lbs I would use.
 |
 |
| 58 |
59 |
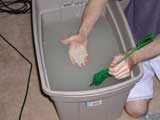
| 58 |
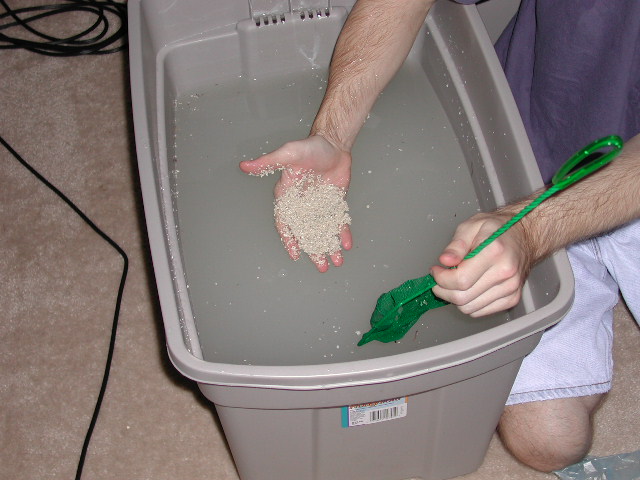
Before I could start adding the substrate (sand) to the new tank, it needed to be washed to remove dust and all kinds of stuff. Here, I'm washing the substrate with the water we used to test the new tank. You can see how dirty the wash is -- there's 20lbs of sand in the bucket just below the surface and you can't see it! |
|
|
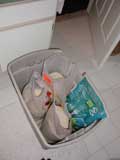
| 59 |
All of the substrate, washed and ready to be used in the tank. A total of sixty pounds of sand was used for approximately 2 inches of substrate. I actually combined 40lbs of hand-washed, "dead" sand with 20lbs of pre-washed, bacterial-active substrate (the odd bag in the bucket) in a hopes of speeding up the initial tank cycling process. |
|
Lots Of Sand And Seawater
Finally it was time to start putting the tank insides together. Initially I was going to wait to do this until after the live rock was in place, but decided to go ahead knowing that I'd have to move the sand around when I started putting live rock in place. Doing it this way, I could allow the system to start running, filtering out unremoved dust and debris fro the sand - which it did. Poly-filter placed in the filtration system once I had it going turned from white to brown in just a few hours! For the system, I create deionized water using the Aquarium Systems Tap Water Filter. It works really well and can be much cheaper and more efficient than a Reverse Osmosis setup if your tap water is of decent quality.
| 60 |
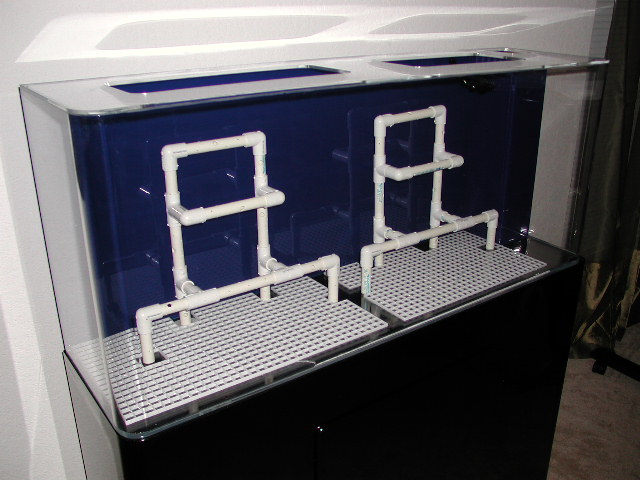
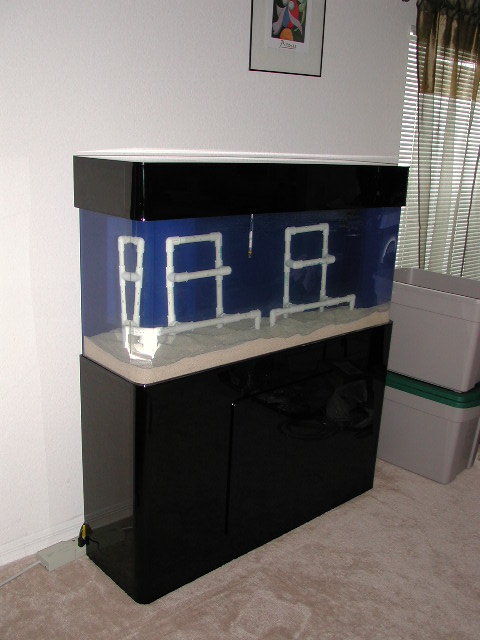
With everything built, rinsed, moved and ready to go it was time to start putting it together. The first step was to place the egg crate support and aquascaping shelves into the tank. |
| 61 |
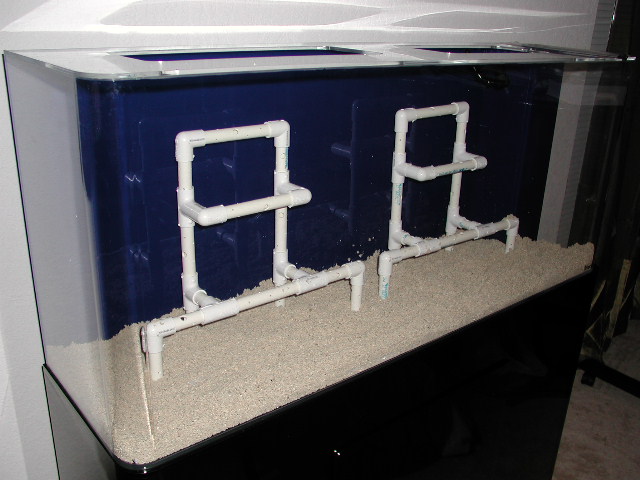
Next, I began adding substrate into the mix to hold the egg crate and shelves in place. |
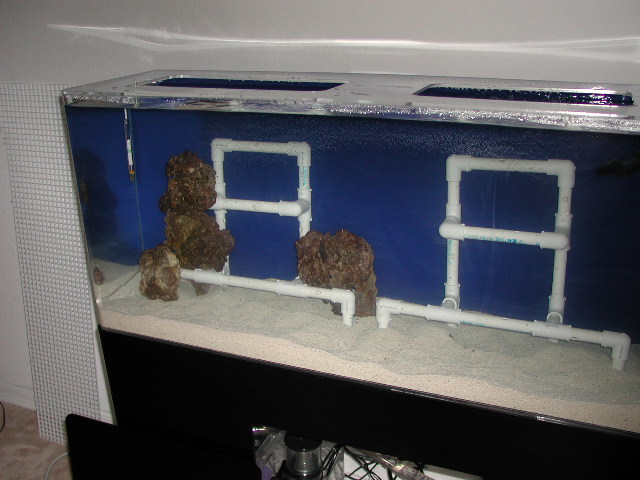
| 62 |
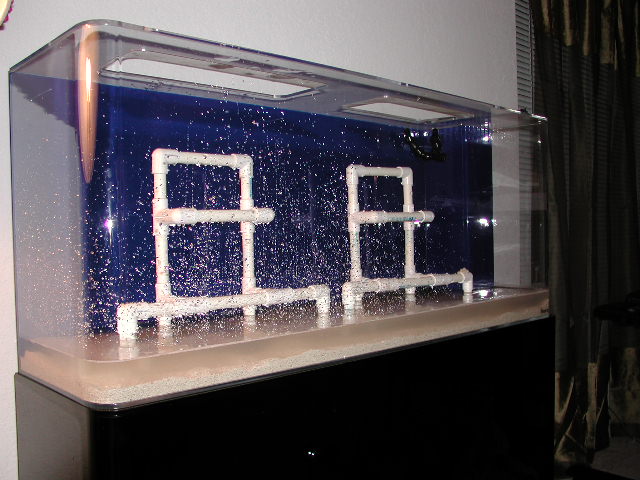
Once some of the sand was in, I started filling the system with deionized salt water. |
|
|
| 63 |
At halfway full, you can see that even though I washed the sand thoroughly, there's still dust being stirred up by the water. |
| 64 |
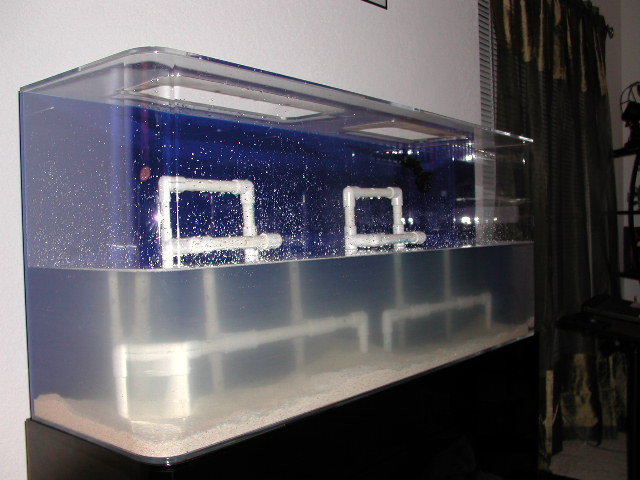
The tank after it was full and the remaining sand had been added. The system was ran for some time to clear things up by the time I took this picture. (That's a thermometer/specific gravity gauge floating in the foreground). |
|
Rock, Light, Waves
Although I later learned that this step may have been a mistake, I decided to move my existing live rock into the new tank to test the PVC shelving and get the cycling process going. At this point, I also installed several pump heads positioned behind the rocks/PVC to be controlled by a wave making device and create alternating currents in the tank. I eventually will be adding approximately 30lbs of live rock to the tank.
| 65 |
In this picture I am simply resting the rocks on the shelving to see how well it will work and how easily I can strap the rock down with plastic cable ties. |
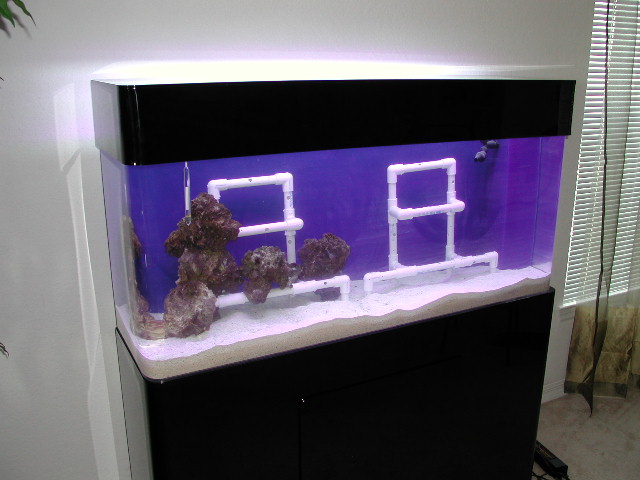
| 66 |
The rock in place and the lights on. |
|
|
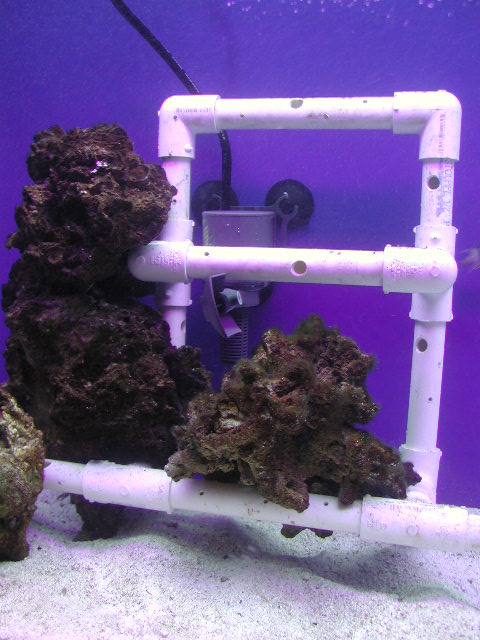
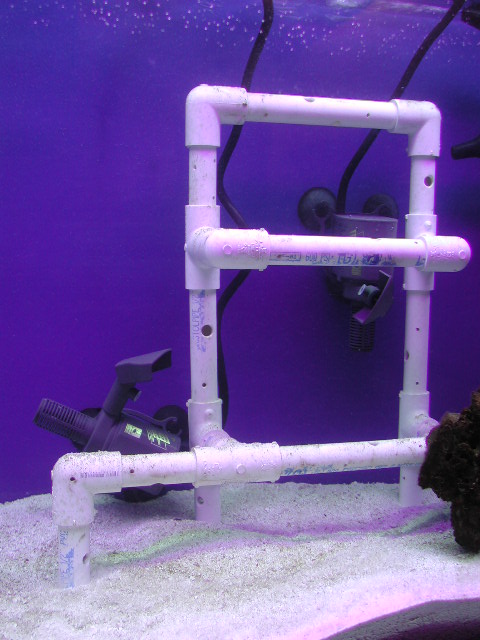
| 67 |
The pumps and their power cords of the "wave making" powerheads will eventually be almost completely hidden by rock attached to the PVC. This pump is on the left side (from the front) of the tank. |
| 68 |
These three pumps (these two, plus one in previous picture) are controlled by an Aquarium Systems Natural Wave outlet strip. The outer two alternate back and forth every 30 seconds or so and the center one shown on the left here, turns off and on every 60 seconds. |
|
|