|
Delivery!
Finally, the tank was ordered and it arrived two weeks later in a well-packed shlew of boxes and cardboard. Shipped via freight, the 18-wheeler couldn't get into our apartment complex easily, so I trucked the entire palette of stuff back to my apartment in a handful of trips :) Once inside, I started a project that lasted more than a month!
Unpacking The Beast
I haven't seen this much cardboard since moving around the country with my family when I was a kid. It was exciting as all get-out to finally get this thing and I tore into the packaging (carefully), unpacking every little thing that had arrived. Even though the new tank is dimensionally just a foot longer and a hair taller than the old tank, it actually ends up dwarfing the old system due to sheer volume. Aside from the bulkiness, I can pick it up by myself with little effort.
 |
 |
 |
 |
 |
 |
| 1 |
2 |
3 |
4 |
5 |
6 |
 |
 |
 |
 |
 |
 |
| 7 |
8 |
9 |
10 |
11 |
12 |
| 1 |
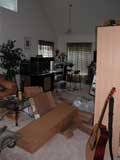
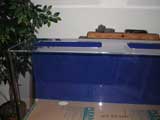
The new tank arrived packaged in boxes and cardboard. Lots of it. The cardboard in this photo is only for the tank and stand! More boxes contained the innards of the filtration system. |
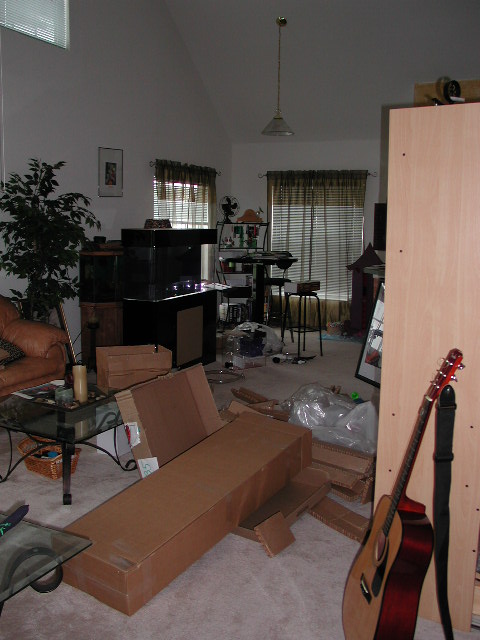
| 2 |
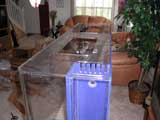
The mess took up the whole living room (there was even more at the base of the stairs, waiting to be brought up)! In the far back left of picture, you can see the old tank behind the new one. |
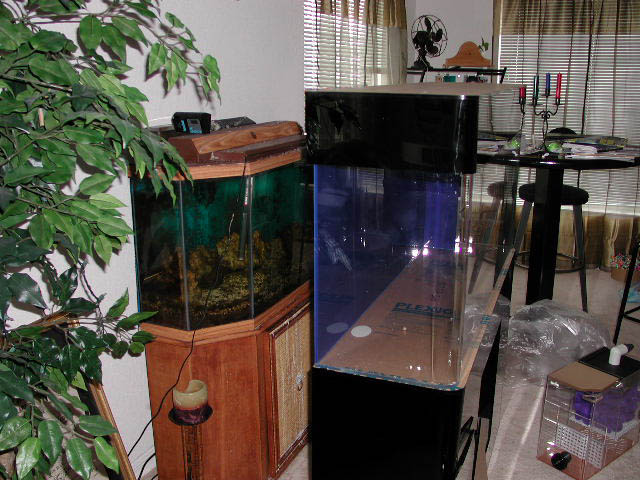
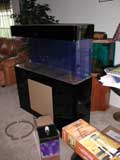
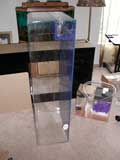
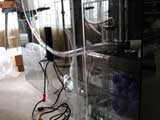
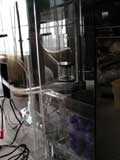
| 3 |
Stacked, but not unwrapped yet, I wanted to see the size difference of the tanks. You'll also notice in this picture some of the plumbing, the sump (main filtration canister) and protein skimmer. |
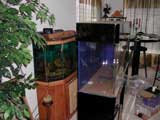
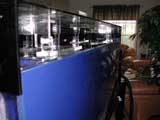
| 4 |
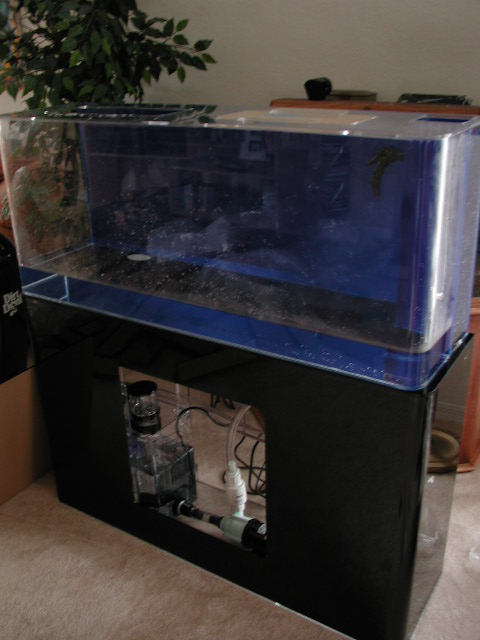
Side shot of old and new tank. Here you can see just how much bigger the new tank is (and that it's time for an algae scrub :) |
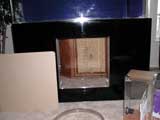
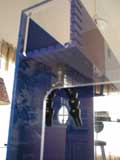
| 5 |
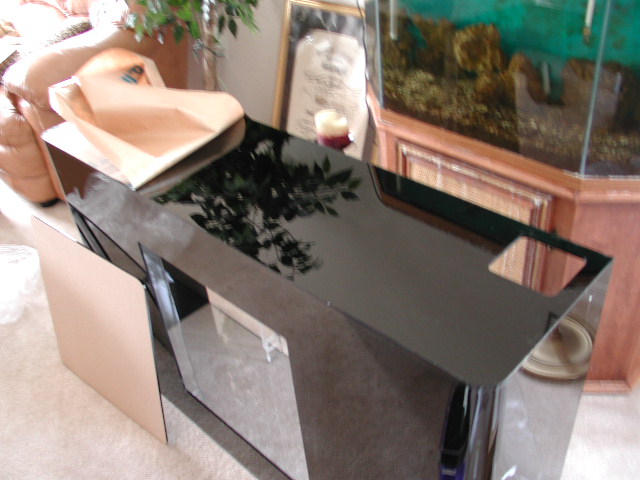
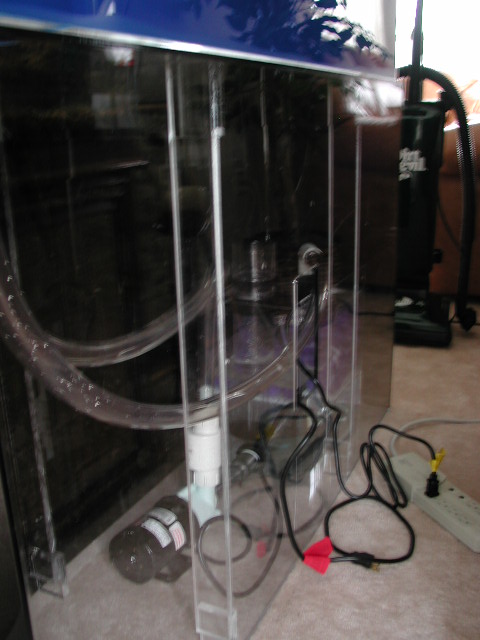
Detail of acrylic cabinet with door removed. The stand is made of the same material (acrylic) as the tank, but is two-toned. The back and bottom of the new cabinet are clear (you can see the old tank's cabinet behind this one) and the top, front and sides are black acrylic. |
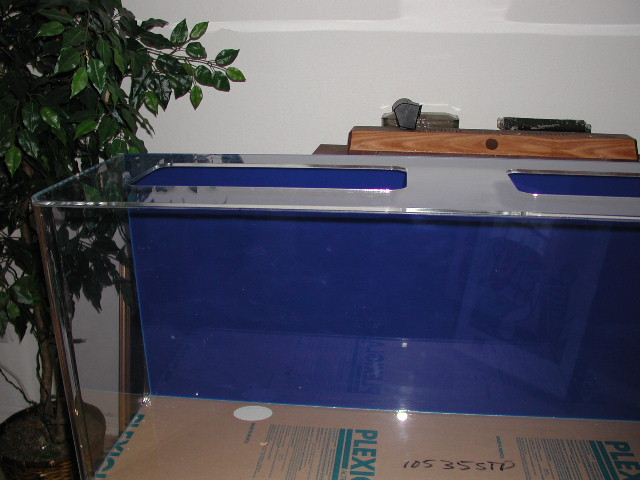
| 6 |
Detail of the tank's top with the canopy removed. The back panels and overflow prefilter (see next picture) panels are all solid blue acrylic. You can see in this picture the access holes on the top of the tank. |
|
|
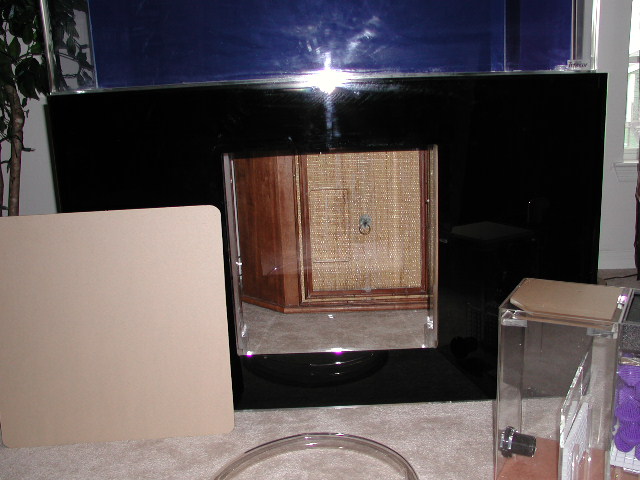
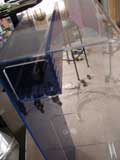
| 7 |
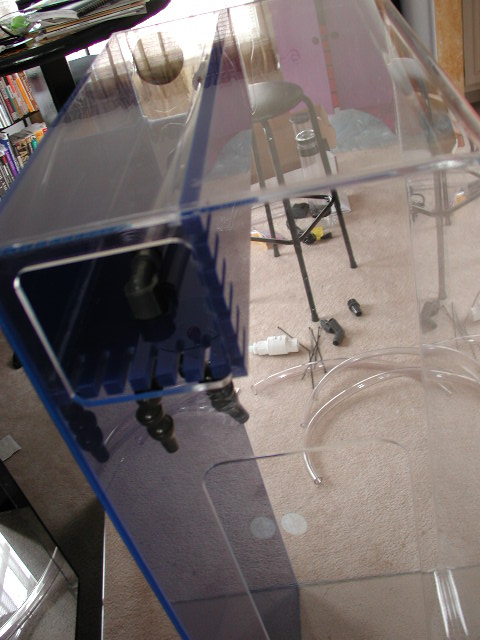
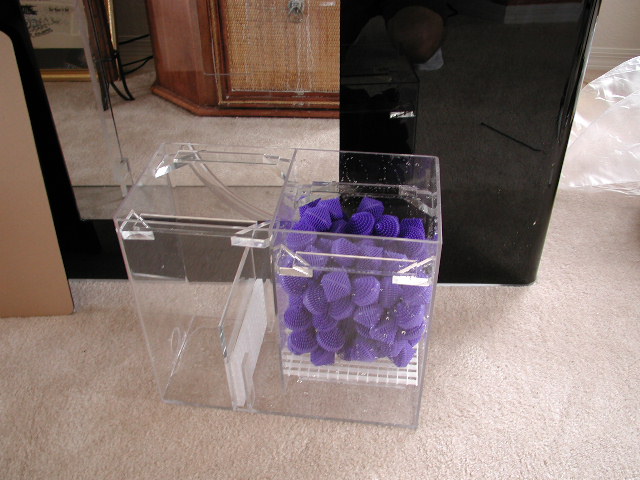
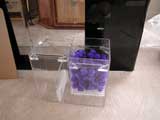
Detail of overflow prefilter box built into tank. This is where the water "overflows" and falls down into the cabinet to be filtered in the sump. The round hole in the top center of the prefilter box is where the return fitting will be installed. |
| 8 |
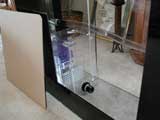
I tipped the tank up to take this picture of the bottom of the tank. You can see the prefilter box is in upper right corner in this picture. The two holes pre-drilled in the bottom of the prefilter box are for the drain and return fittings to be installed later. You can also see more clearly the solid blue acrylic back of the tank. |
| 9 |
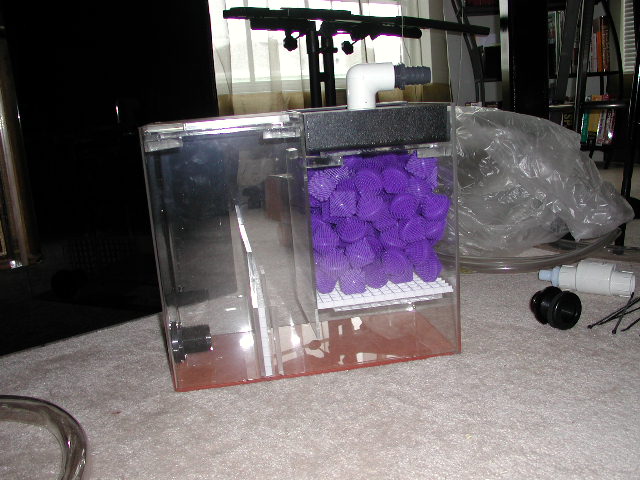
Detail shot of the unassembled sump with bio balls in main drip chamber. This is what the water from the tank drains into. It flows down into the elbow PVC and drips down over the bio balls. Eventually a pump will be hooked up to the left side of the sump to return the filtered water to the tank. |
| 10 |
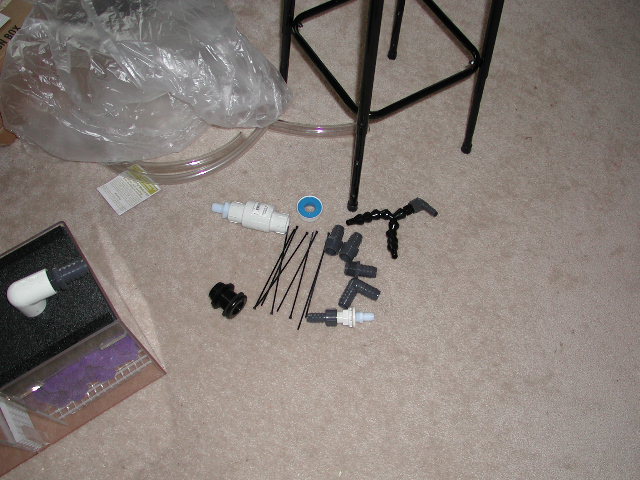
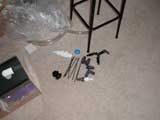
Some of the plumbing pieces for the sump, consisting of bulkheads and fittings, tubing, ties, tape, centipede return kit and sump with elbow PVC inlet preattached. |
| 11 |
Shot of the main system pump still in the box. This will eventually be hooked to the sump and back to the tank, cycling the tank's water through the system. |
| 12 |
Shot of protein skimmer still in the box. This filter will be installed directly into the sump to skim the water before it is pumped back into the system. |
|
Assembling The System
The tank has a custom built, "reef-ready," Tenecor wet-dry filtration system that had to be assembled and attached to the tank. One of the advantages of the acrylic tank is the nearly invisible plumbing. The tank actually drains via an overflow filter box in the back, right corner, down into the sump that will sit in the stand. The water is pumped out of the sump and back into the tank via a return flow that feeds through the same pre-filter overflow. The directions that came with the system weren't exactly perfect, so it took a little longer than I thought to get everything rinsed, hooked up and ready to go.
 |
 |
 |
 |
 |
 |
 |
 |
| 13 |
14 |
15 |
16 |
17 |
18 |
19 |
20 |
 |
 |
 |
 |
 |
 |
 |
 |
| 21 |
22 |
23 |
24 |
25 |
26 |
27 |
28 |
| 13 |
Here I'm starting to remove the protective film from the stand. In this picture, you can see the prefilter plumbing hole in the top right, back corner of the stand. |
| 14 |
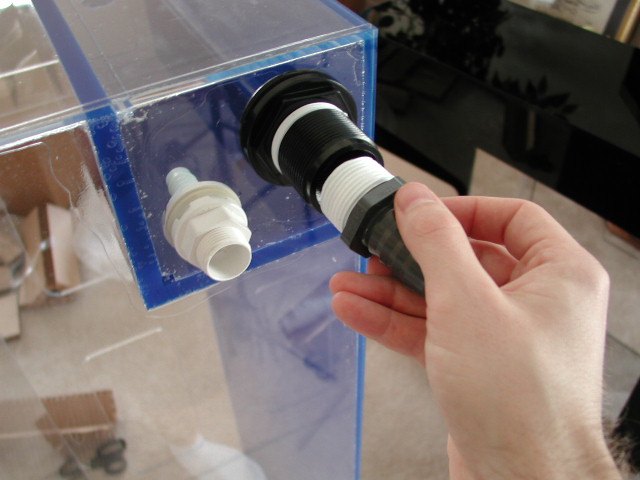
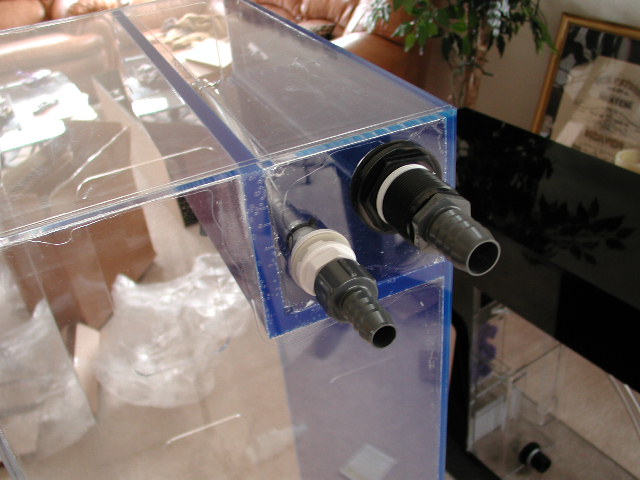
Assembling the fittings for the drain and return. I've already applied the tape to the drain fitting and am screwing it onto the bulkhead. The return on the left is only being test fitted since I have to assemble tubing yet. |
| 15 |
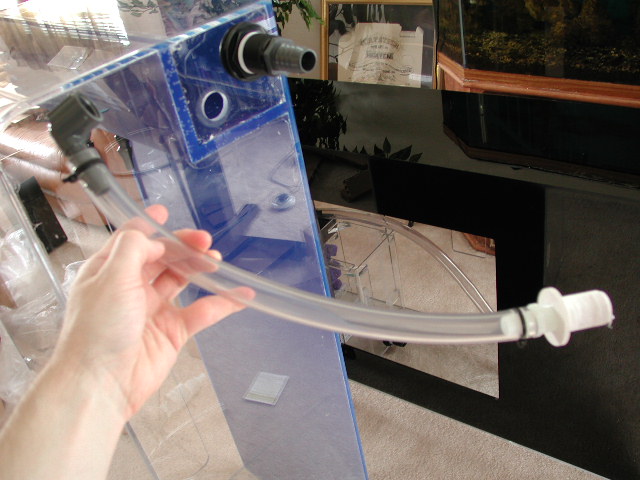
The pump return tubing with the fittings assembled. This piece will be installed inside the prefilter box. |
| 16 |
Another shot of the return tubing installed inside the prefilter box. |
| 17 |
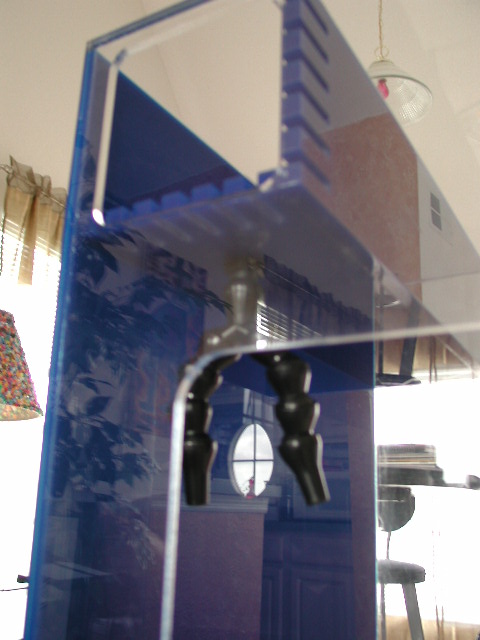
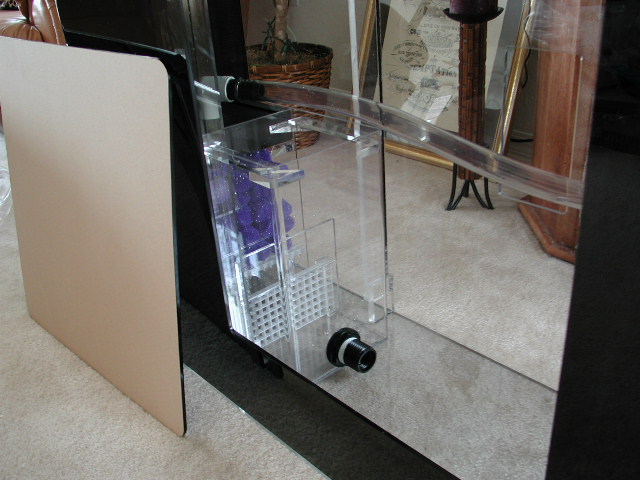
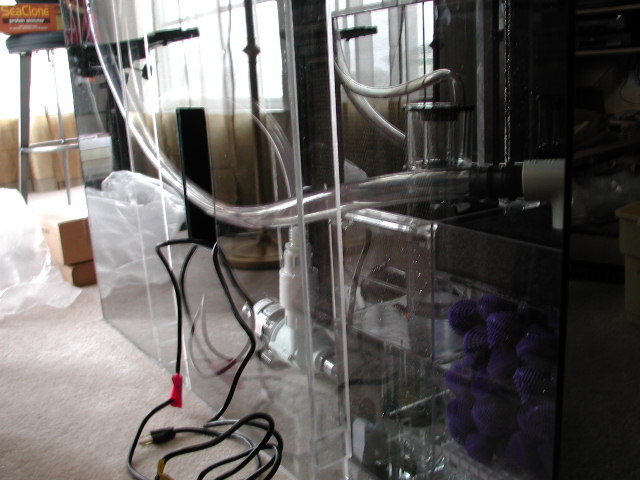
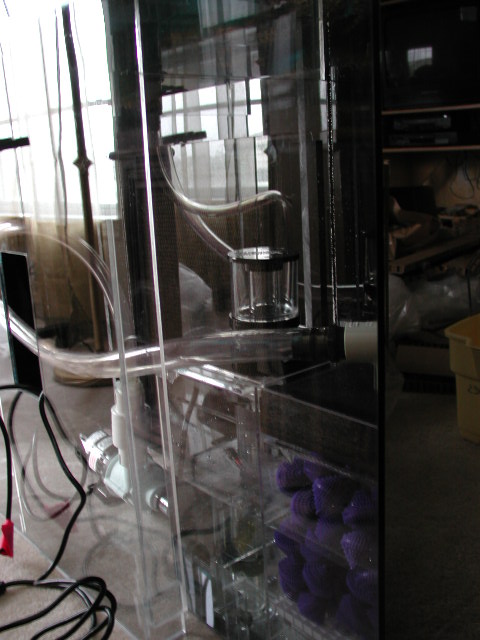
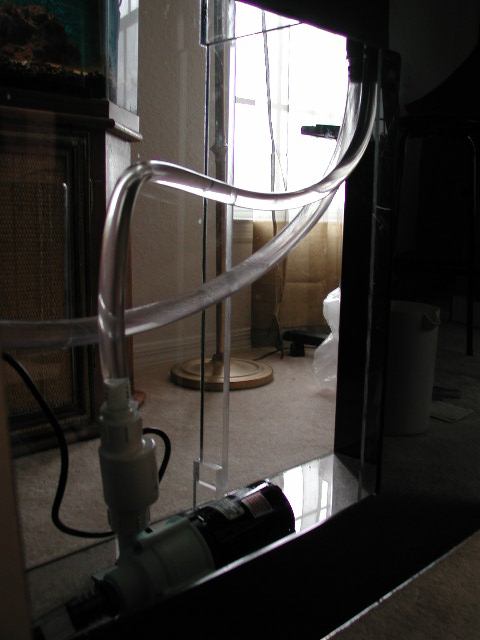
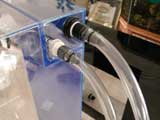
A different angle of the prefilter box showing the centipede return that the pumped water will be sent through back into the tank. This return is completely bendable to direct the water in many different directions. |
| 18 |
Here's a shot of the prefilter box nearly assembled with all tubing and fittings. |
| 19 |
Final step of installing the prefilter plumbing was to attach the drain and return tubing that will direct the water into and out of the tank stand. Cable ties were used to insure that the tubing does not come loose from the fittings due to water pressure. |
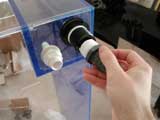
| 20 |
Rinsing, examining, testing and assembling the protein skimmer. The skimmer (known as a foam fractionator in the waste-water management biz) removes decaying materials from the water. |
|
|
| 21 |
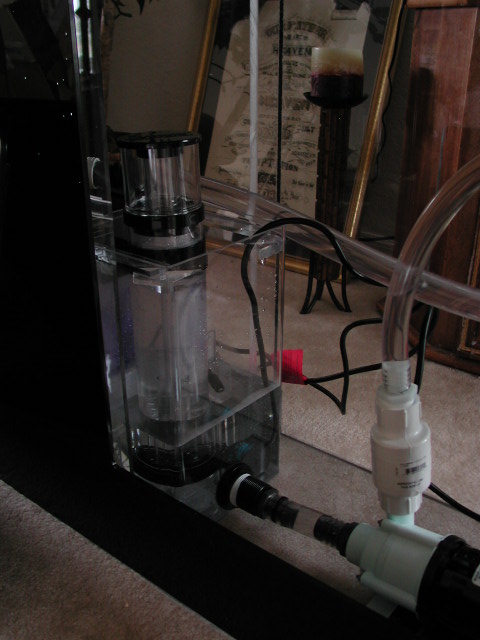
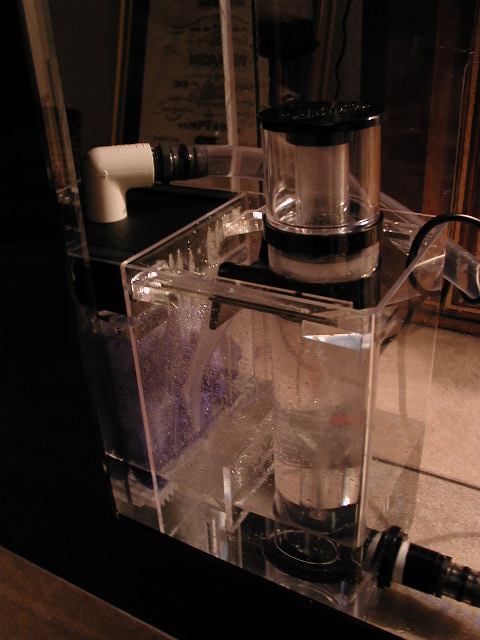
The sump. The drip tray has been removed (to assemble separately). |
| 22 |
The sump in place with the drip tray, drain tubing and return bulkhead installed. Heaters were also installed into the sump chamber below the bioballs, although I probably won't need them at all. |
| 23 |
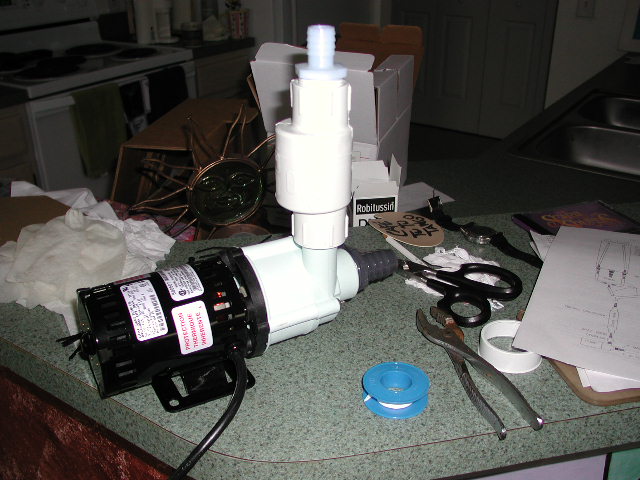
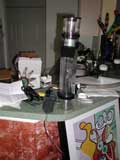
The main pump assembled with the check valve on the output valve (the check valve keeps water from flowing backwards through the system and flooding my apartment ;) |
| 24 |
Placing the pump into the stand and testing positioning. You can also now see the protein skimmer installed in the sump. |
| 25 |
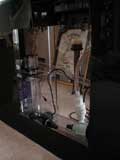
The system installed and connected. This is a view through the back of the stand. |
| 26 |
Another view of the system from the back of the stand. |
| 27 |
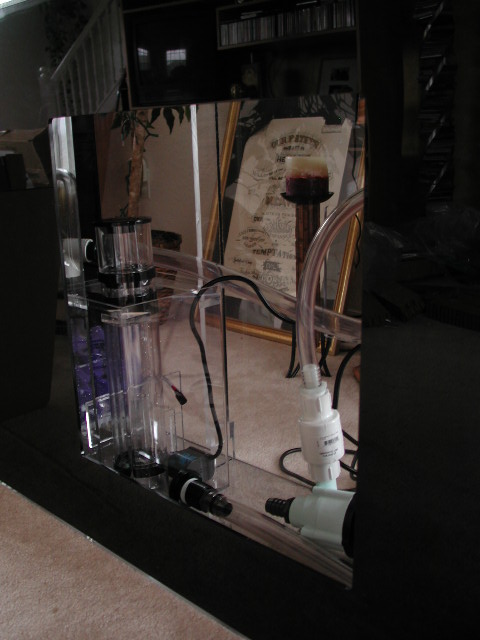
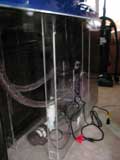
Closer view of the sump and protein skimmer. |
| 28 |
Behind the tank view of the canopy placed on top of the tank. |
|
Testing The System For Leaks
Next, it was time to actually test the assembled system to make sure that there were no leaks and everything functioned properly. Last thing I wanted to discover was a wet apartment after getting home from work (thank goodness for renters insurance!). This process was almost as exciting as setting up the system permanently and because of the deep blue acrylic back, the tank looks very cool with only water in it.
As expected with acrylic tanks, it does bow a little bit in the front and back (about 1/2" in the back, 1/4" in the front) due to water pressure, but it's less than I thought. Once I add all the other contents to the tank, it will probably bow even less.
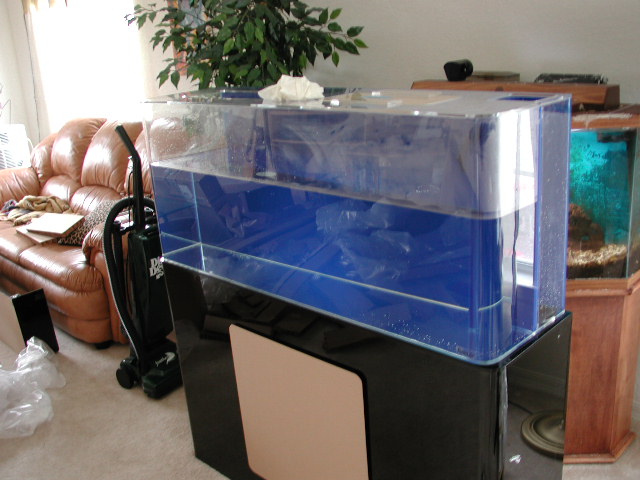
| 29 |
Filling the tank with freshwater to test the filtration, plumbing and tank for leaks. Fifty-five gallons of water is quite a bit and I saved this water to wash the sand substrate once the test was done. |
| 30 |
A little more than halfway full... |
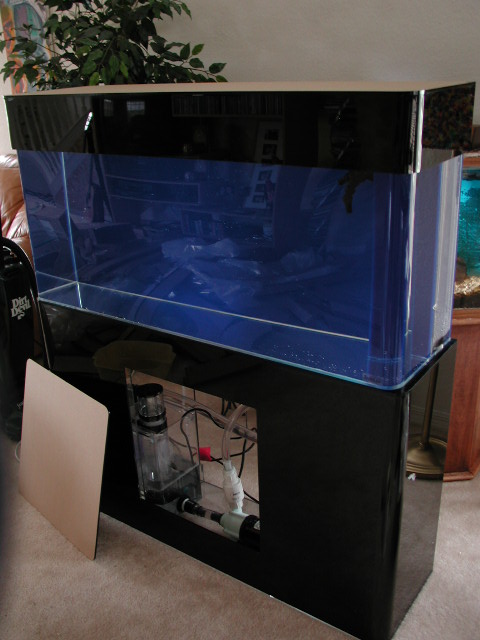
| 31 |
Finally full with the canopy placed on top of the tank. The tank bulges as expected with acrylic, but not nearly as bad I was imagining. Eventually, it will bulge less as I add 60lbs of sand and 30lbs of rock to the tank. |
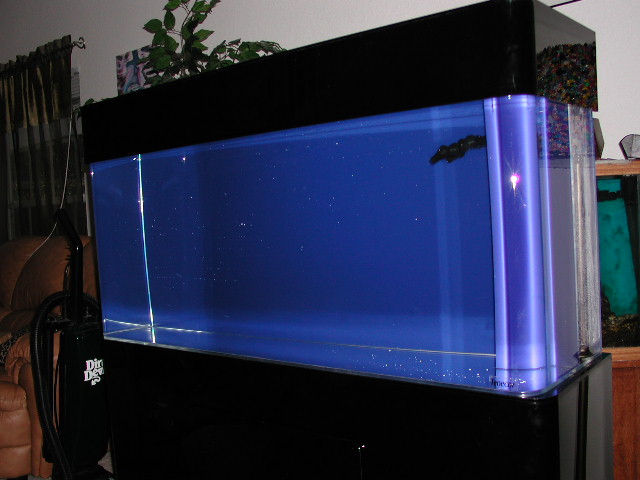
| 32 |
More close view of the tank completely full. |
|
|
| 33 |
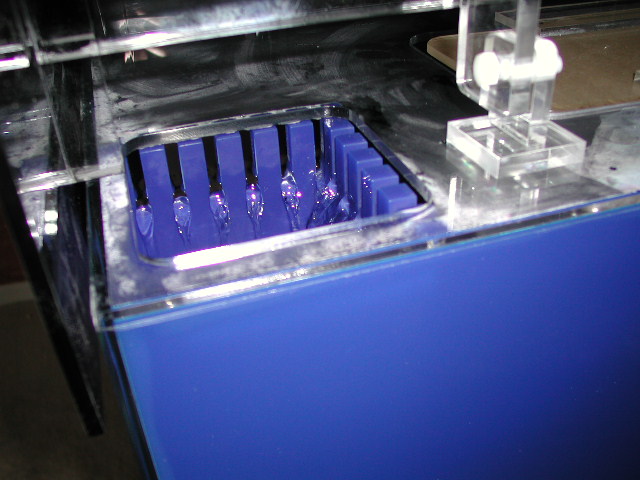
After starting the tank for the first time, you can see the prefilter overflow working with the water passing through the grating in the box and draining down into the sump in the stand. |
| 34 |
In the upper right corner of this photo you can see the water flowing from the overflow prefilter to the sump. |
| 35 |
The sump, protein filter and pump, hard at work. Since this photo was taken I have lengthened the tubing between the sump and pump |
| 36 |
More detailed photo of the sump with the protein skimmer. No leaks! |
|
|