|
Construction
Just assembling and setting up the tank wasn't the end of the project by any means. I built some custom elements to make the fish's new home both a safe haven and as visually exciting as possible.
Rock Shelving
I found an article on the internet about aquascaping with live rock and PVC piping. Basically, building a system of shelves allows you to do more than simply stack the live rock up in the tank. It ends up looking really interesting, with caves, overhangs, and real tall structures -- giving you much to look at, lots of places for inverts and corals (should you desire) and a place for fish to hide and swim around.
| 37 |
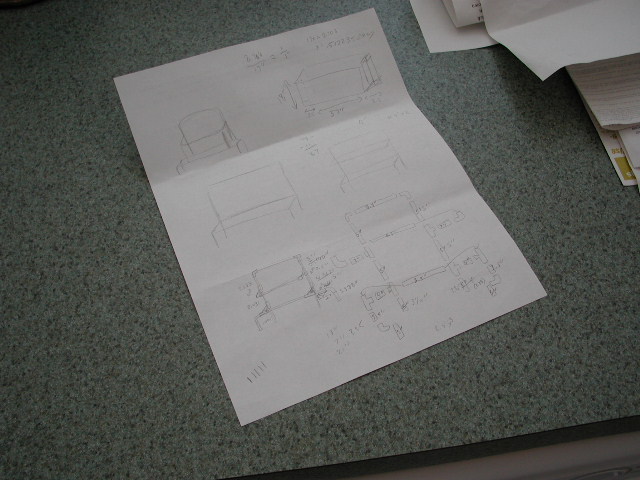
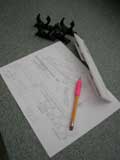
I decided to construct PVC shelving that I could attach the live rock to and drew up plans for my tank dimensions. Two shelves would be needed so that I could aquascape the rock into caves and overhangs while leaving some of the tank still open. |
| 38 |
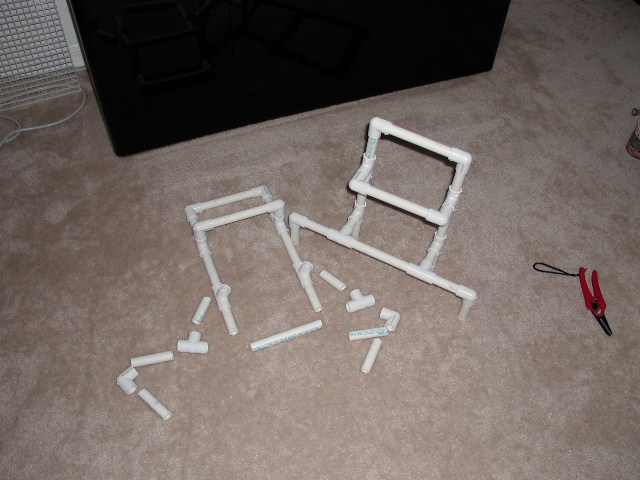
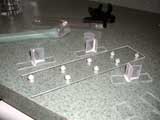
After creating the plans, I cut and tested the various PVC pieces. Here you can see a loosely assembled shelve and another set of cut pieces. I ended up changing my dimensions greatly to have the shelves fit perfectly in the tank and allow enough room once the rocks were attached. |
| 39 |
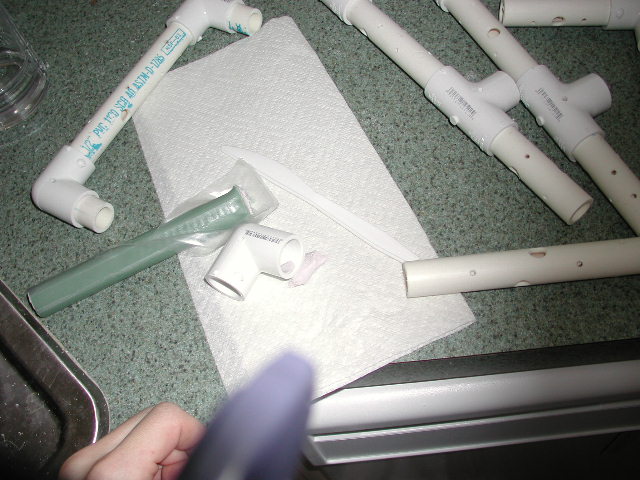
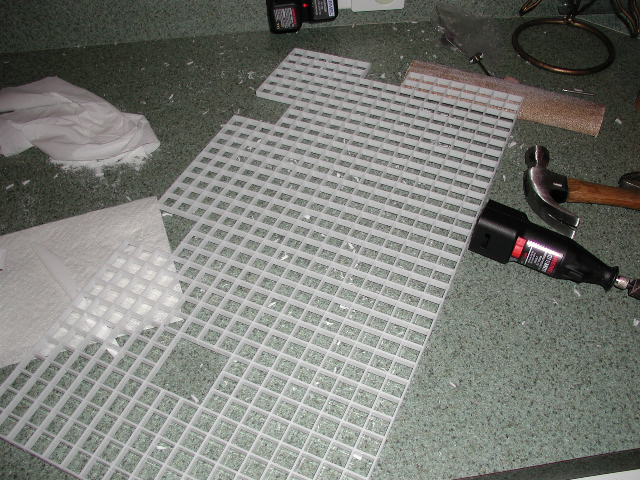
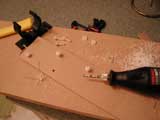
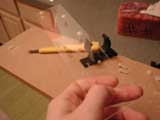
Once the pieces were cut to size, I drilled holes of various sizes into the piping to permit water flow and keep "dead spots" from forming. Since PVC is so easy to work with, I was able to use a small, cordless dremel with stone grinders to quickly, safely and easily drill the holes. |
|
|
| 40 |
Once the pieces were cut, drilled and washed, I then glued the shelves together using marine epoxy just as a precautionary measure. This wasn't a completely necessary step as the PVC held together quite significantly even without the glue. |
| 41 |
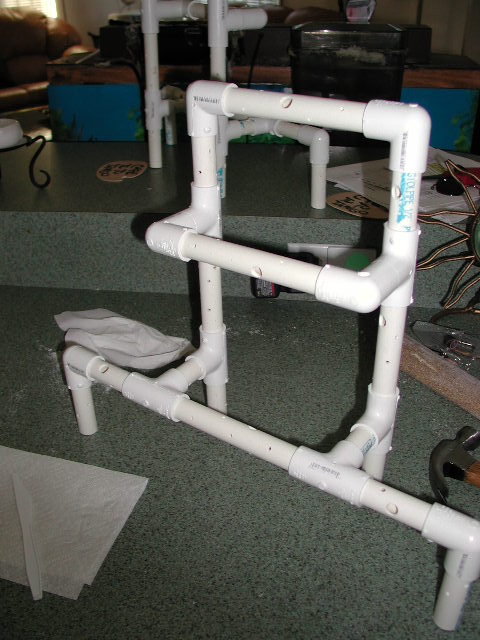
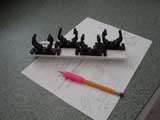
Here, you see a detailed picture of a final, glued and ready to be installed, shelf. |
|
Egg Crate Support
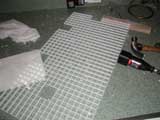
To add support for the rocks on the shelve bottoms in case the sand underneath them shifted, I used "egg crate" (fluorescent light covers) as a stationary plate for them to rest on.
 |
 |
| 42 |
43 |
| 42 |
The material was cut to size, sanded and cleaned. Two separate panels were made so that the egg crate could be installed through the access holes of the tank. The square holes created in the egg crate are for the PVC shelf legs to pass through and rest on the bottom of the tank. |
|
|
| 43 |
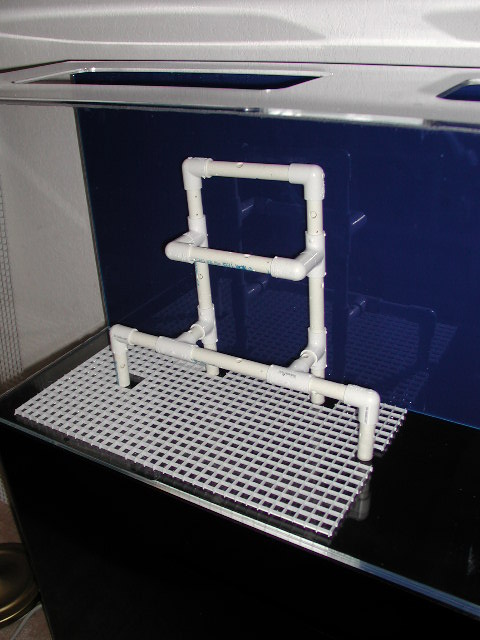
One completed egg crate flooring panel and PVC shelve placed in tank. Perfect fit. |
|
Bulb Rack Extenders
The only slight problem with the new tank was it's ability to hold only two NO/VHO fluorescent bulbs. I actually wanted to have four, 48", 40watt bulbs in total, so I needed to devise some way to change the provided bulb racks to accommodate them. I came up with a bulb rack extender.
 |
 |
 |
 |
 |
| 44 |
45 |
46 |
47 |
48 |
 |
 |
 |
 |
 |
| 49 |
50 |
51 |
52 |
53 |
| 44 |
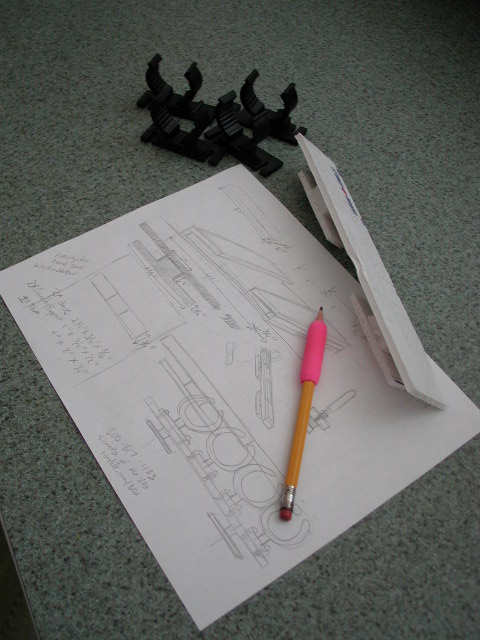
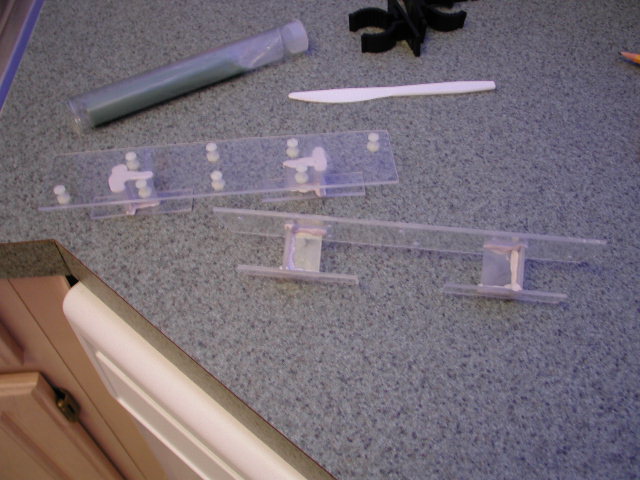
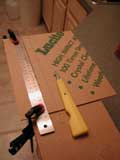
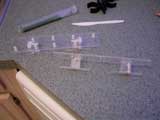
My bulb rack extender plans along with a foam board prototype and the bulb clips purchased separately.
The foam board prototype simply slides into the canopy's bulb clip holders and the bulb clips are instead screwed to the top of this mounting plate.
|
| 45 |
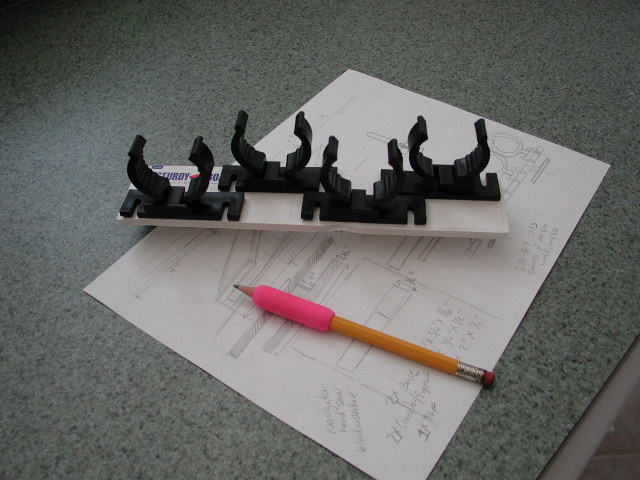
Bulb clips resting in position on the bulb rack extender prototype. |
| 46 |
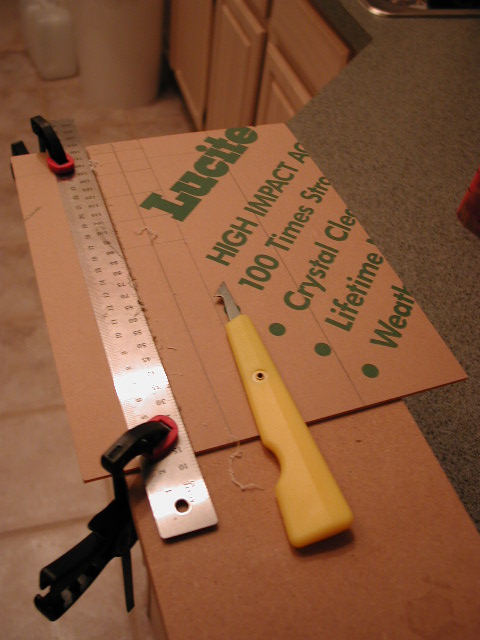
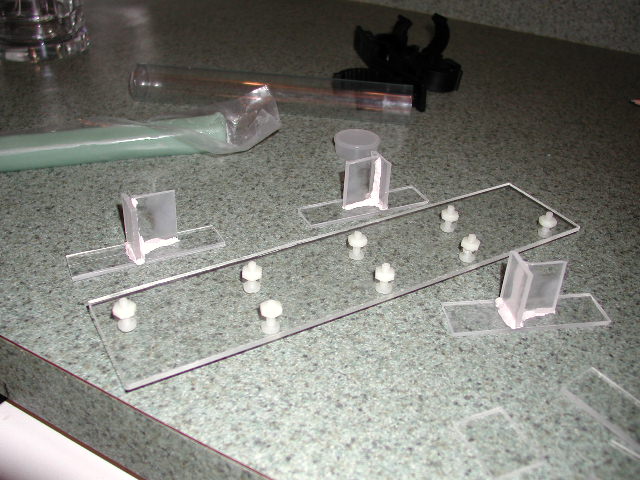
I chose to create the extender from lucite primarily due to its similarity with the tank material and that it isn't susceptible to corrosion. After marking down the cutting template, I began cutting the pieces to size. |
| 47 |
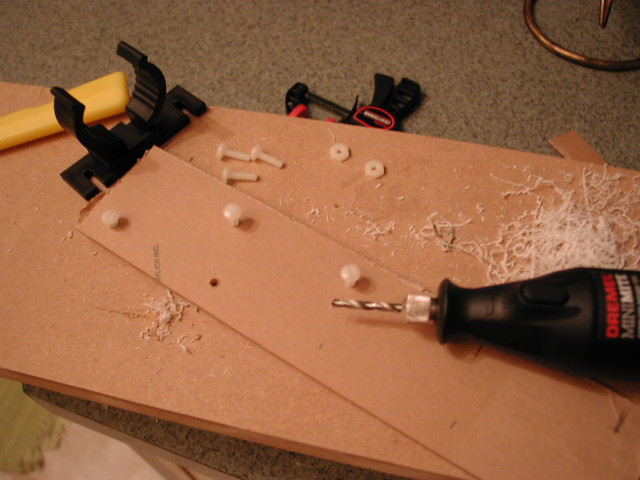
Once the pieces were cut, I drilled and test-fitted the bolts in the top plate of the bulb rack extender. A simple dremel with a drill bit was used to create the holes. Nylon nuts and bolts were used to avoid any rust or other damage caused by saltwater. |
| 48 |
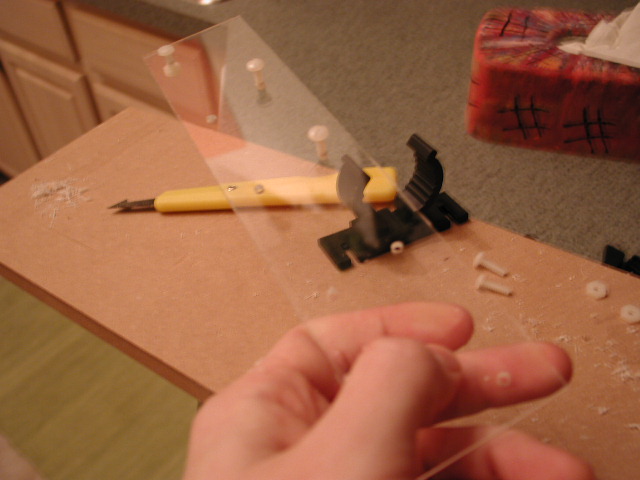
A photo of the finished top plate with protective material removed and some of the nylon bolts in place. |
|
|
| 49 |
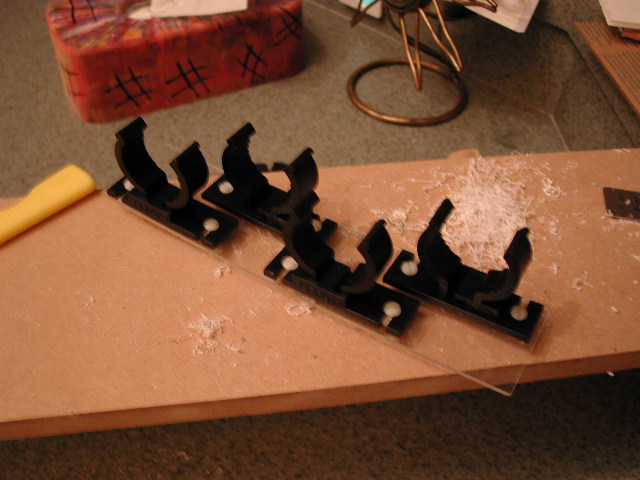
Here, the bulb clips have been attached and the bolts tightened. |
| 50 |
Once the nuts, bolts and bulb clips had been tested, I glued the actual extender pieces together with marine epoxy and attached them to the top plate of the extender. Yeah, it's ugly, but it's extremely durable and non-toxic (something I can't say for the other acrylic cement options). |
| 51 |
Here are the completed bulb rack extenders. |
| 52 |
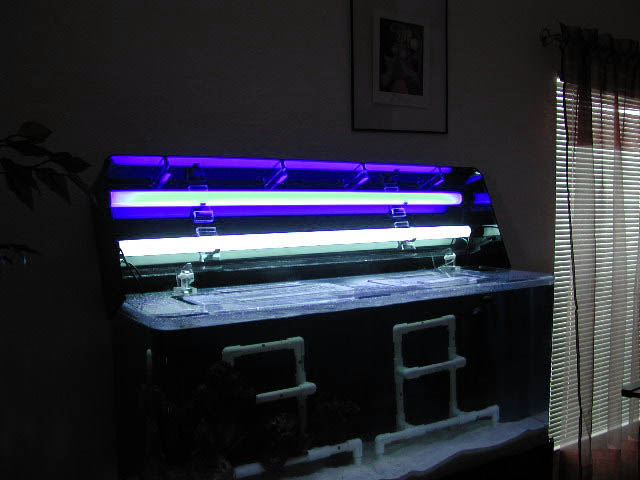
The finished bulb rack extender installed in the tank. |
| 53 |
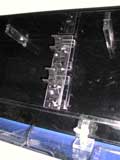
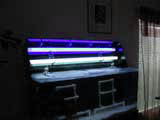
Here, two of the four eventually lights are installed and lit. The top light (foreground light) is an 40watt actinic blue and the bottom (rear) light is a 40 watt10,000K daylight bulb. Eventually, there will be another actinic blue and actinic white added to this system - 160watts total. |
|
|